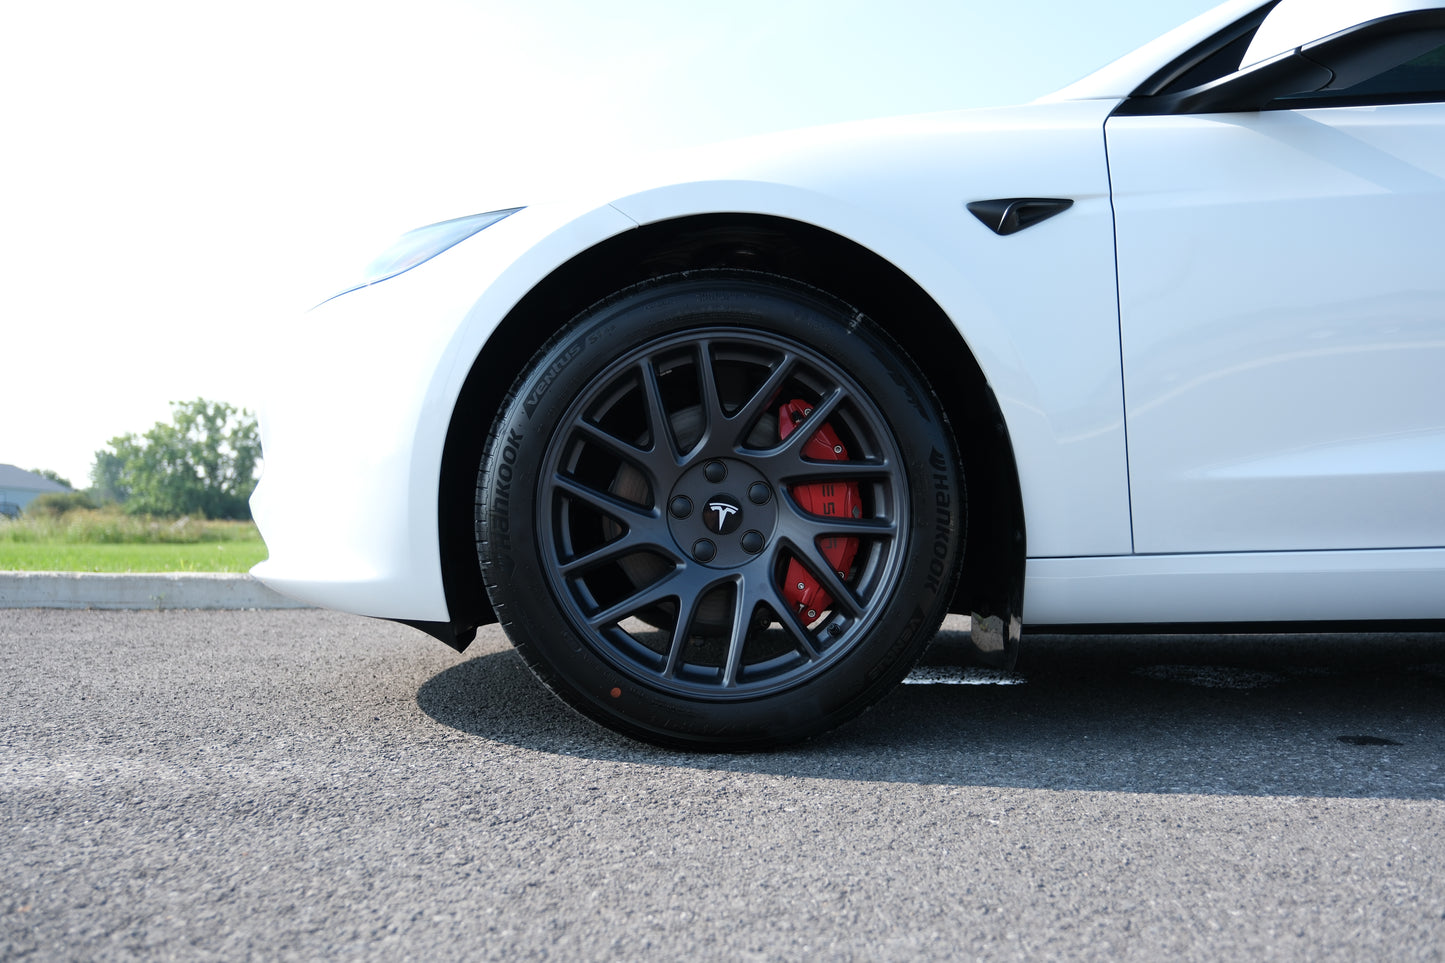
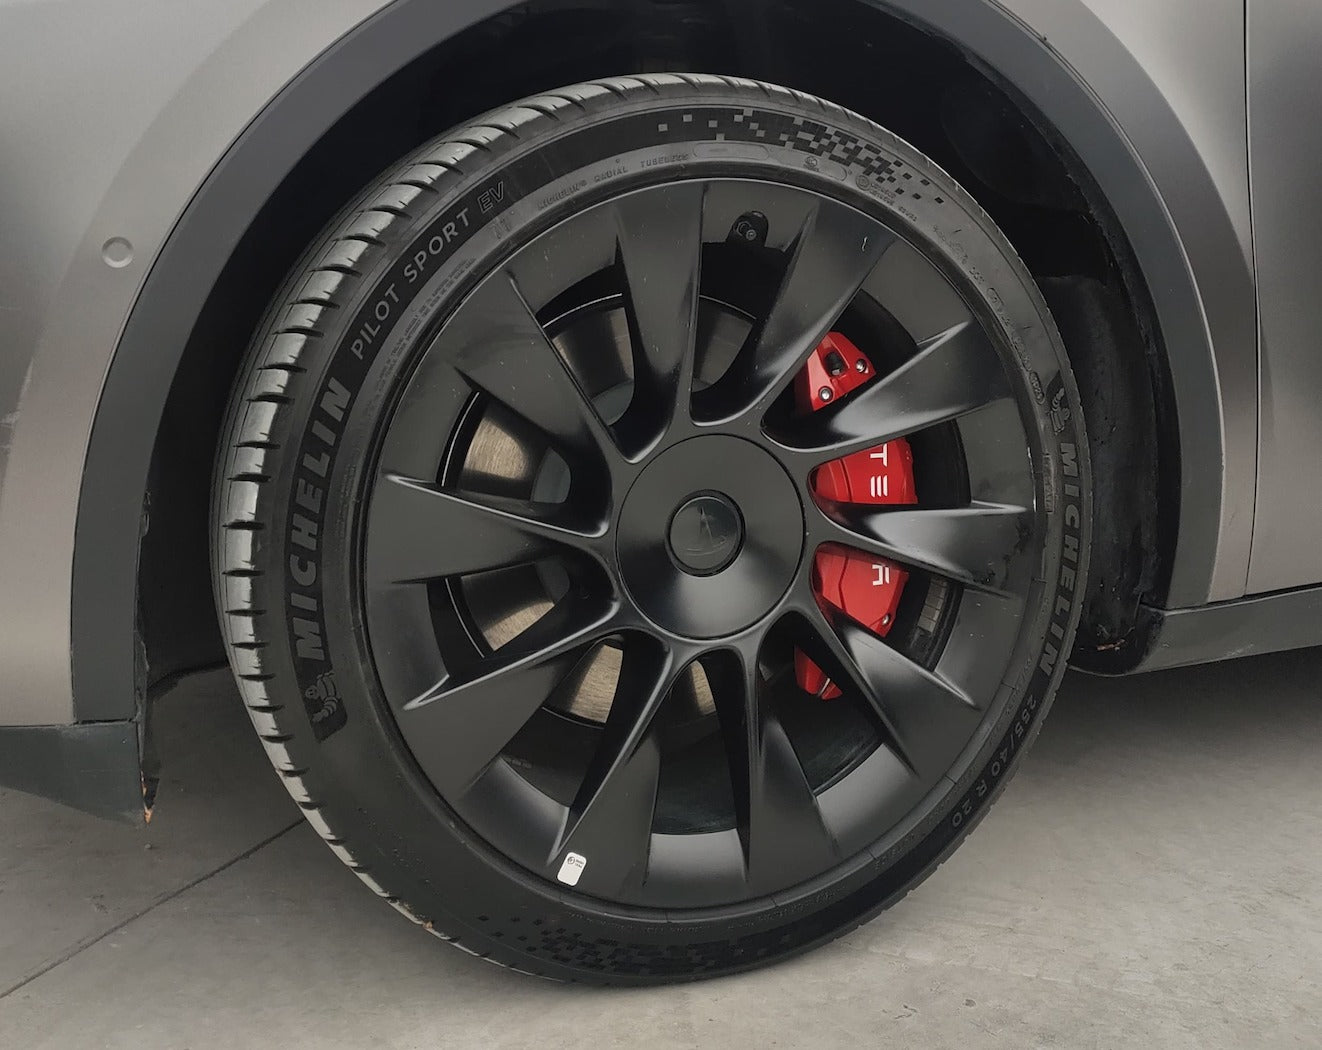
Couleur : Rouge.
Matériau : Résistant aux hautes températures.
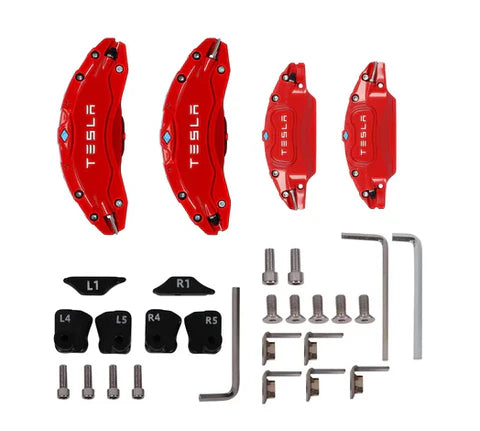
Design : Ajustement personnalisé pour les modèles Tesla.
Fonction : Amélioration esthétique, protège les étriers.
Installation : Simple, aucun outil spécial requis.
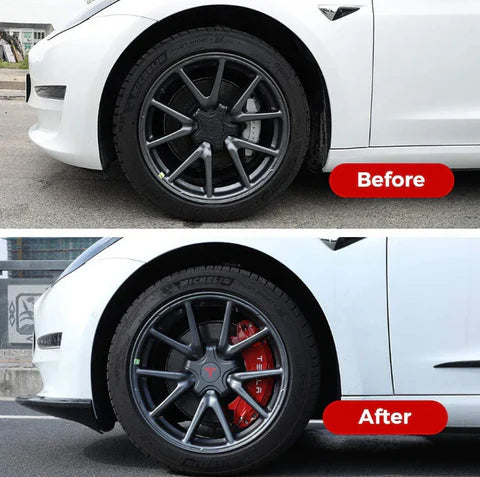
Avantages
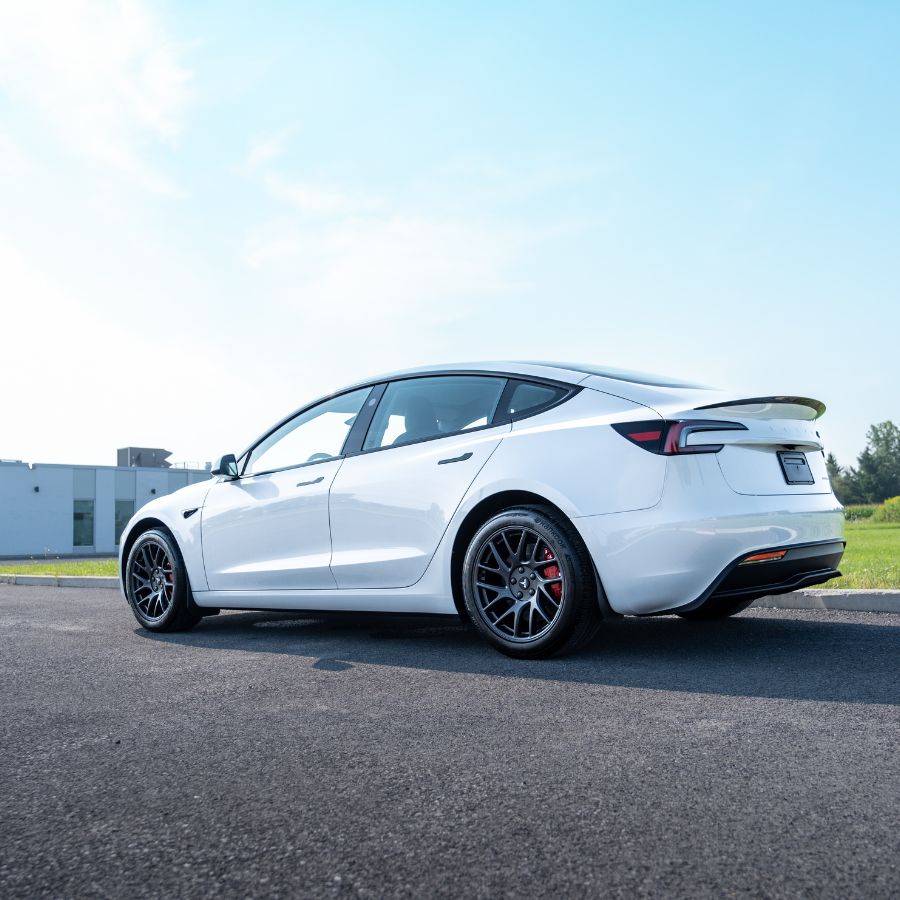
Améliorez l'apparence des roues de votre Tesla avec nos couvres-étriers de frein rouges. Ces couvres-étriers ajoutent non seulement une touche sportive à votre véhicule, mais protègent également vos étriers de frein contre la poussière et les débris.
Vidéo d'installation
https://youtu.be/PidsrLpCNP8
Abonnez-vous à notre infolettre !
Soyez le premier à découvrir nos nouvelles collections et offres exclusives.
Le choix d'une sélection entraîne l'actualisation de la page entière.